JSON Parsing in Android using
Asynctask
In Previous tutorial, mentioned about JSON types and
how JSON parsing is happening without using asynctask. In this tutorial, I will
talk about JSON parsing using Asynctask.
What
is Async Task?
AsyncTask enables proper and easy use of the UI thread.This class allows to perform background operations and publish results on the UI thread.
Async Task has Four Operations:
1. onPreExecute()- It invoked before execution.
2. onPostExecute()- It invoked after execution.
3. doInBackground()- Main operation, write your long operation code.
4. onPregressUpdate()- It indicates user on progress.
Async Task has Three generic types:
AsyncTask<Param, Progress, Result>
AsyncTask<{Type of Input},{Type of Update Unit},{Type of Update Result}>
If you observe carefully, you can see { and ]. The main
difference between these two is object and array. Curly bracket { represents JSONObject and Square bracket [
represents JSONArray.
In this example, I will create a button and after
clicking on button the data will show in listview. So our main.xml will be like
this:
Activity_main.xml
<RelativeLayout xmlns:android="http://schemas.android.com/apk/res/android"
xmlns:tools="http://schemas.android.com/tools"
android:layout_width="match_parent"
android:layout_height="match_parent"
android:paddingBottom="@dimen/activity_vertical_margin"
android:paddingLeft="@dimen/activity_horizontal_margin"
android:paddingRight="@dimen/activity_horizontal_margin"
android:paddingTop="@dimen/activity_vertical_margin"
tools:context=".MainActivity" >
<Button
android:id="@+id/getdata"
android:layout_width="wrap_content"
android:layout_height="wrap_content"
android:layout_alignParentBottom="true"
android:layout_centerHorizontal="true"
android:layout_marginBottom="14dp"
android:text="Get Data" />
<ListView
android:id="@android:id/list"
android:layout_width="match_parent"
android:layout_height="wrap_content"
android:layout_above="@+id/getdata"
android:layout_centerHorizontal="true"
>
</ListView>
</RelativeLayout>
Now we will create Parser
class. This parser class is used to execute the JSON link and get the JSON data
and returns JSON Object.
public class Parser {
static
InputStream is = null;
static
JSONObject jObj = null;
static String json = "";
public
JSONObject getJSONData(String url){
try{
DefaultHttpClient
client = new DefaultHttpClient();
HttpPost
post = new HttpPost(url);
HttpResponse
response = client.execute(post);
HttpEntity
entity = response.getEntity();
is =
entity.getContent();
}catch (UnsupportedEncodingException
e) {
e.printStackTrace();
} catch
(ClientProtocolException e) {
e.printStackTrace();
} catch
(IOException e) {
e.printStackTrace();
}
try {
BufferedReader reader = new
BufferedReader(new InputStreamReader(
is, "iso-8859-1"), 8);
StringBuilder sb = new
StringBuilder();
String line = null;
while ((line =
reader.readLine()) != null) {
sb.append(line + "\n");
}
is.close();
json =
sb.toString();
} catch
(Exception e) {
Log.e("Buffer
Error", "Error converting result " +
e.toString());
}
try {
jObj = new JSONObject(json);
} catch
(JSONException e) {
Log.e("JSON
Parser", "Error parsing data " + e.toString());
}
return jObj;
}
}
In NewsLines, there are multiple strings i.e HeadLine and
DateLine. So you need to define these in your MainActivity class.
private static final String NEWS = "NewsML";
private static final String NEWS_LINE = "NewsLines";
private static final String HEAD_LINE = "HeadLine";
private static final String DATE_LINE = "DateLine";
After button click, it will execute AsyncTask, so you need to write like this way:
Btngetdata.setOnClickListener(new
OnClickListener() {
@Override
public void
onClick(View v) {
new
JSONParse().execute();
}
});
Here JSONParse is a class for Asynctask operation.By using this JSONParse class, it will get the
data and fill in the list view. So JSONPasre class will look like this:
private class
JSONParse extends AsyncTask<String, Integer,
ArrayList<HashMap<String, String>>>{
ArrayList<HashMap<String,
String>> newsList = new ArrayList<HashMap<String, String>>();
private
ProgressDialog pDialog;
protected void
onPreExecute() {
super.onPreExecute();
pDialog = new
ProgressDialog(MainActivity.this);
pDialog.setMessage("Loading
Data ...");
pDialog.setIndeterminate(false);
pDialog.setCancelable(true);
pDialog.show();
}
@Override
protected
ArrayList<HashMap<String, String>> doInBackground(String... params)
{
Parser jParser = new
Parser();
JSONObject json =
jParser.getJSONData(url);
try{
news =
json.getJSONArray(NEWS);
for(int
i=0;i<news.length();i++){
JSONObject
object = news.getJSONObject(i);
JSONObject
newsline = object.getJSONObject(NEWS_LINE);
String
headLine = newsline.getString(HEAD_LINE);
String
dateLine = newsline.getString(DATE_LINE);
HashMap<String,
String> map = new HashMap<String, String>();
map.put(HEAD_LINE,
headLine);
map.put(DATE_LINE,
dateLine);
newsList.add(map);
}
}catch(JSONException
e){
e.printStackTrace();
}
return newsList;
}//Ending doInBackground
@Override
protected void
onPostExecute(ArrayList<HashMap<String, String>> result) {
super.onPostExecute(result);
pDialog.dismiss();
String []from = {HEAD_LINE,DATE_LINE};
int []to =
{R.id.tv_headLn,R.id.tv_dateLn};
ListAdapter adapter = new
SimpleAdapter(MainActivity.this, result,R.layout.listview_item, from,
to);
setListAdapter(adapter);
}
So the MainActivity class will look like this:
MainActivity.java
public class
MainActivity extends ListActivity {
Button Btngetdata;
private static final String NEWS = "NewsML";
private static final String NEWS_LINE = "NewsLines";
private static final String HEAD_LINE = "HeadLine";
private static final String DATE_LINE = "DateLine";
JSONArray news = null;
//URL to get JSON Array
private static String url = "http://mfeeds.timesofindia.indiatimes.com/Feeds/jsonfeed?newsid=3947071&amp;format=simplejson";
@Override
protected void
onCreate(Bundle savedInstanceState) {
super.onCreate(savedInstanceState);
requestWindowFeature(Window.FEATURE_NO_TITLE);
setContentView(R.layout.activity_main);
Btngetdata =
(Button)findViewById(R.id.getdata);
Btngetdata.setOnClickListener(new
OnClickListener() {
@Override
public void
onClick(View v) {
new
JSONParse().execute();
}
});
}
private class
JSONParse extends AsyncTask<String, Integer,
ArrayList<HashMap<String, String>>>{
ArrayList<HashMap<String,
String>> newsList = new ArrayList<HashMap<String, String>>();
private
ProgressDialog pDialog;
protected void
onPreExecute() {
super.onPreExecute();
pDialog = new
ProgressDialog(MainActivity.this);
pDialog.setMessage("Loading
Data ...");
pDialog.setIndeterminate(false);
pDialog.setCancelable(true);
pDialog.show();
}
@Override
protected
ArrayList<HashMap<String, String>> doInBackground(String... params)
{
Parser jParser = new
Parser();
JSONObject json =
jParser.getJSONData(url);
try{
news =
json.getJSONArray(NEWS);
for(int
i=0;i<news.length();i++){
JSONObject
object = news.getJSONObject(i);
JSONObject
newsline = object.getJSONObject(NEWS_LINE);
String
headLine = newsline.getString(HEAD_LINE);
String
dateLine = newsline.getString(DATE_LINE);
HashMap<String,
String> map = new HashMap<String, String>();
map.put(HEAD_LINE,
headLine);
map.put(DATE_LINE,
dateLine);
newsList.add(map);
}
}catch(JSONException
e){
e.printStackTrace();
}
return newsList;
}
@Override
protected void
onPostExecute(ArrayList<HashMap<String, String>> result) {
super.onPostExecute(result);
pDialog.dismiss();
String []from = {HEAD_LINE,DATE_LINE};
int []to =
{R.id.tv_headLn,R.id.tv_dateLn};
ListAdapter adapter = new
SimpleAdapter(MainActivity.this, result, R.layout.listview_item, from,
to);
setListAdapter(adapter);
}
}
}
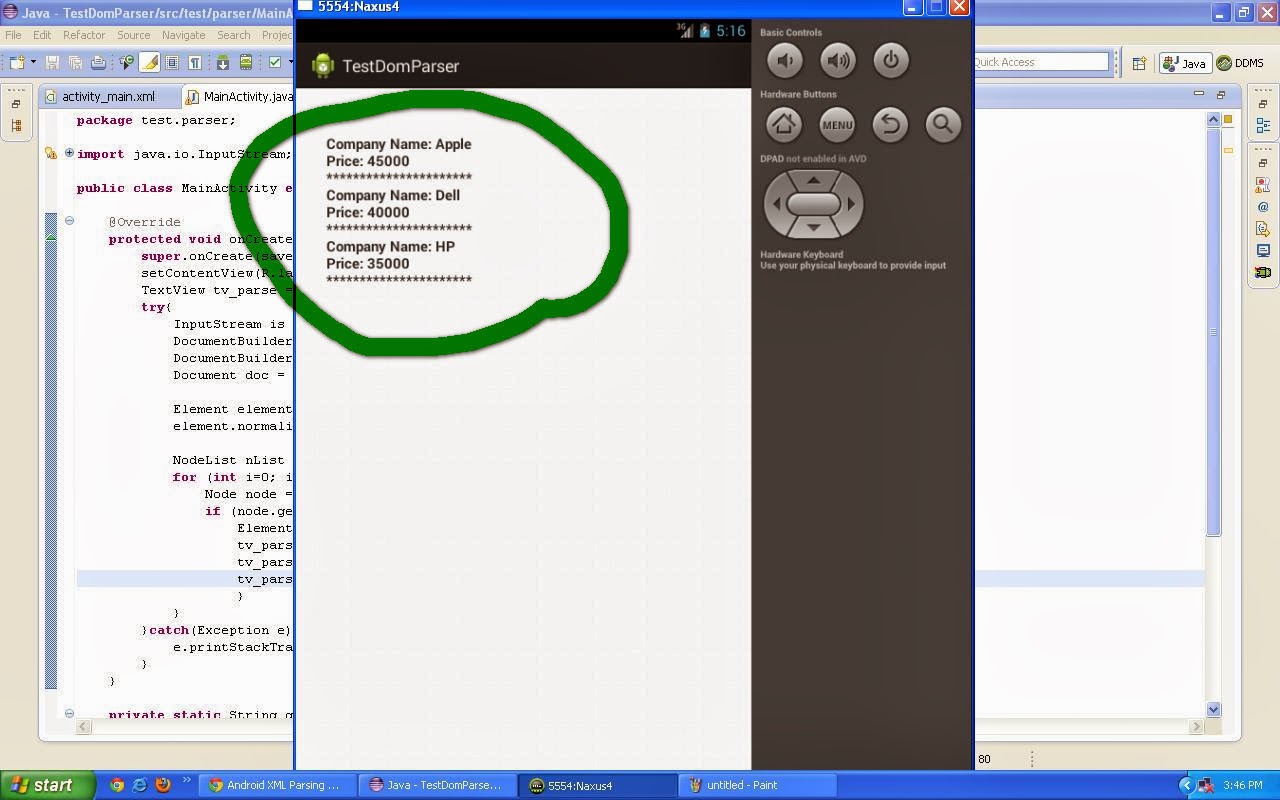
Result: